Painting MDF Pressboard
info@SamplesPainting
Or Call: +46 7 200 5000
Don’t fear
MDF
Out of control is the
Price of
Hardwood
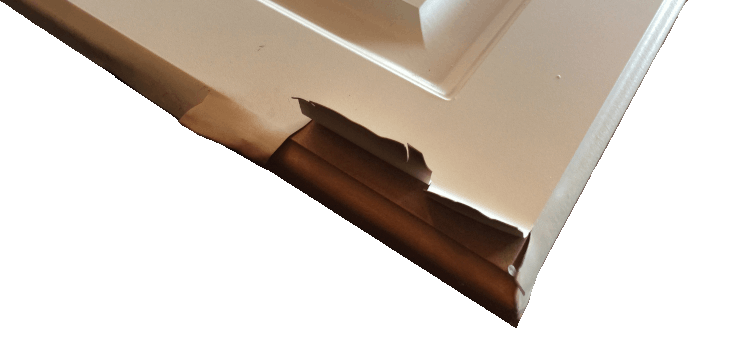
Thermofoil (plastic covering)
Step 1 is to try and to staple, super glue,… try many other tactics to get the Thermofoil to lay lay flat and look good. You’ll quickly discover that none of that works for very long. You need a longer-term solution and I hope this blog -post along with your studies will help.
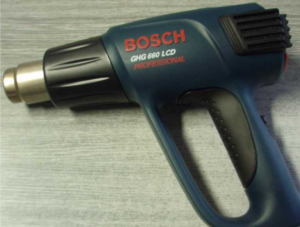
It isn't always a must -- however it's always best to use heat while removing the Thermofoil
Similar to the best practices blog regarding the removal of wallaper-with-steam, the purpose of the heat is to loosen/melt the glue in an attempt to get the adhesive to stick to the Thermofoil to be disposed of. Any glue remaining on the wood will need to be sanded.
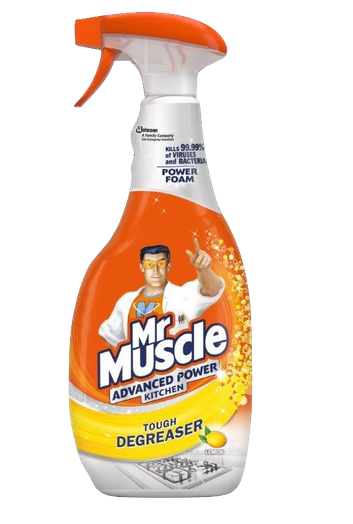
Degreaser, Acetone, sanding, do what you must to achieve a cean smooth surface.
It doens’t hurt to get the MDF damp, just don’t get it too wet.
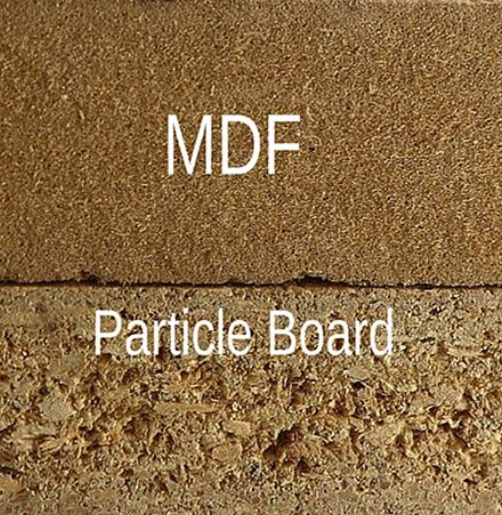
Typically cabinets... are made of MDF as opposed to Particle Board we'll discuss both.
Both Particle Board and MDF are similar in that they are comprised of wood fibers (saw dust), glues, resins,… The binding agents used to hold the saw-dust together is typically toxic in the form of dust. YOU MUST USE CAUTION WHILE CUTTING AND SANDING.
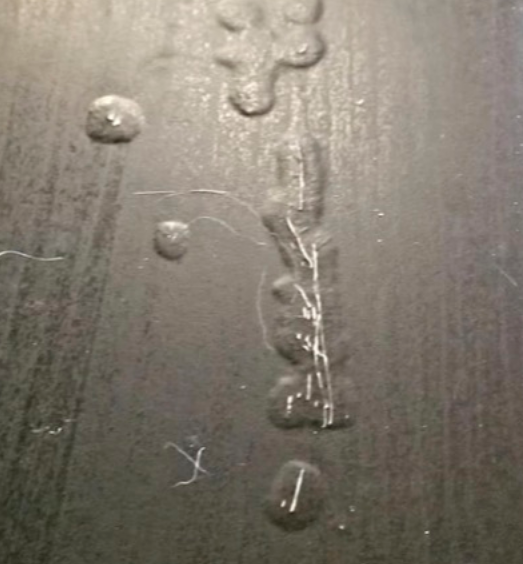
MDF Blisters
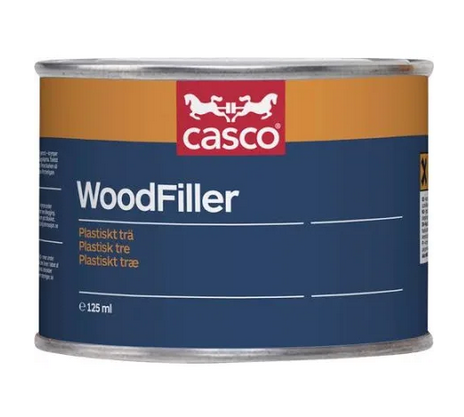
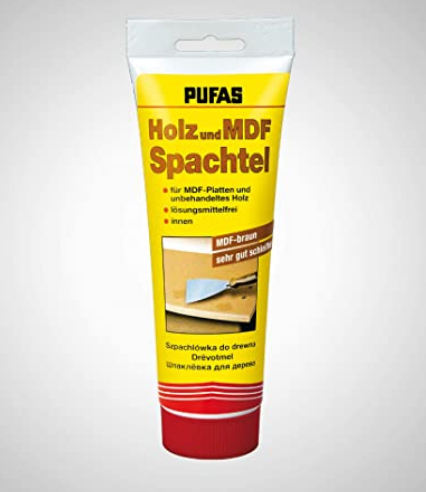
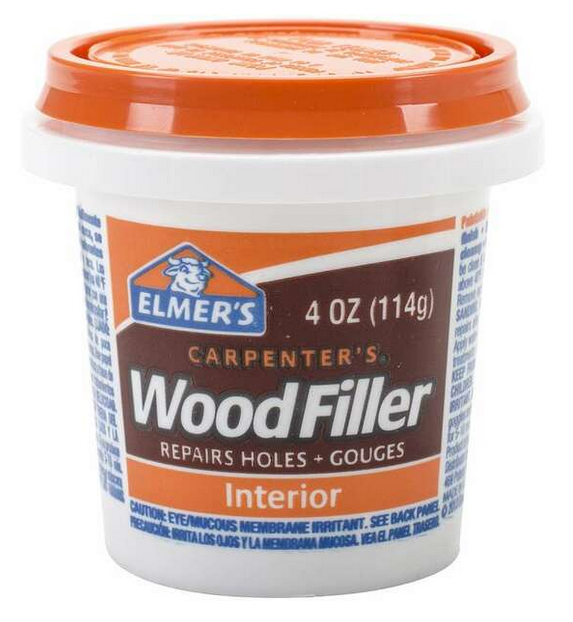
Smaller blisters can be dealt with. Note though sanding won’t cut it. While the damage that you see is on the surface the risen aspect is due to damage from within. When particle board products are exposed to moisture, the wood wicks inward and then cellular wood fibers swell. This swelling causes the fibers to break the bonds with the glue/resins that hold it together. You can try to take a razor knife and cut v-sections into the board, to remove the lose/damaged sections. If the damage wasn’t too bad you can use a wood filler to repair the gap.
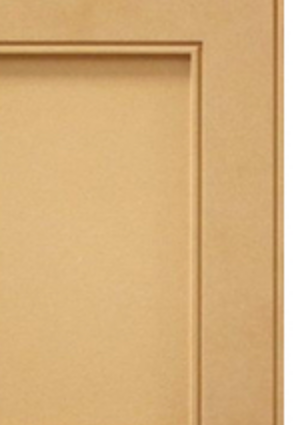
Prep
Sanding off any glue. Lightly use a de-greaser,… note glue residue can cause some paints to crack. Use wood filler to fill any voids. Any defects will become more visible after the paint is applied. If there is a blemish, we can probably fix that too. Let’s try to avoid any.
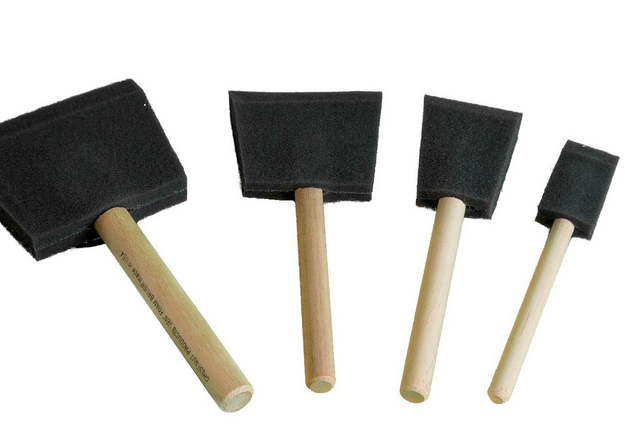
It's not often that I'll reach for cheap foam rollers and foam paint brushes, now is their time to shine.
These foam brushes do an execellent job laying off the finishes. And clean-up is quick – just properly dispose of them.
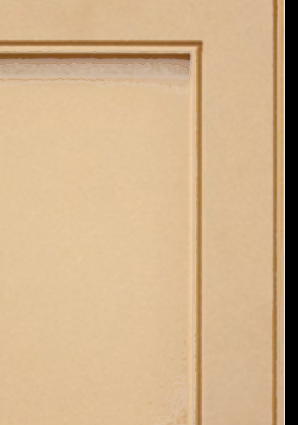
1st Coat - You can barely see it
I’d recommend using a sanding sealer, perhaps Minwax Sanding Sealer as the the first coat. Another option is a paint primer that’s fast drying. Some people use a 50/50 wood glue-water mixture, although that isn’t as easy. The goal here is to prevent soaking while quickly sealing the surface with a thin fast-drying layer.
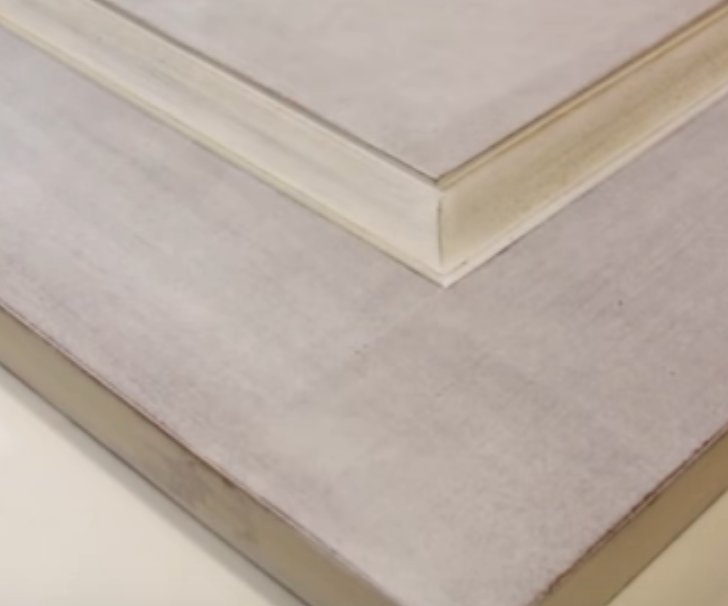
Here's another example of a first coat
In this example, the paint is about as think as I would put it on. It’s not going to look good. You’ll be able see wood through the paint in places… That’s okay, right now we are just sealing the surface – without soaking the wood with a thick coat.
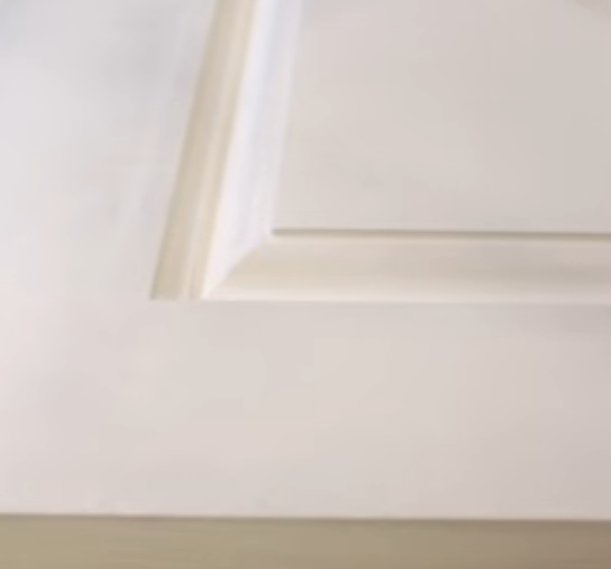
The second layer - Ugly is okay
It’s your project, you may consider a second coat of primer before moving on to the finishing paint. Either way, it will more than likely be okay.
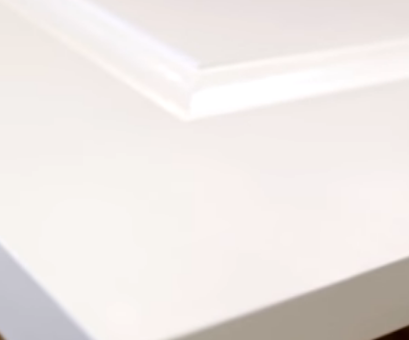
Third & if you choose fourth coat
Now it’s time to let the neighbor’s or family members back into the garage… to see your work. They might not have understood your preference for thin, light, and ugly up to this point.

Using spray paint is another great option as well.
Regardless of the method that you are most comfortable with just remember the key take-aways
- Remove Thermofoil, dirt, grease…
- Quickly seal the surface with fast-dry primer or sanding sealer
- Paint in thin layers until you get the desired results
